上一章节说明小米路由器3触发了web更新firmware的功能,因为下载的源码中已经支持改功能了,只不过小米路由器mini的RESET引脚与源码中的不对应,所以没办法触发,下面我们一起分析下其过程。
1.过程分析
在07-U-boot启动过程中我们已经有提到web更新的检测位于/lib_mips/board.c中,我们定位到如下代码:
...
    while( DETECT_WPS() ) {

        // LED ON and wait 0.2s
        LEDON();
        udelay( 200000 );

        // LED OFF and wait 0.8s
        LEDOFF();
        udelay( 800000 );

        counter++;

        // how long the WPS button is pressed?
        printf("\b\b\b\b\b\b\b\b\b\b\b\b%2d second(s)", counter);

        if ( !DETECT_WPS() ){
            break;
        }

        if ( counter >= 4 ){
            break;
        }
    }
可以看到这是对WPS按键的检测,1秒对counter加1,按键放开或counter加到4的时候则跳出while。
DETECT_WPS()的原型如下,位于common/gpio.c中
unsigned long DETECT_WPS(void)
{
    int key = 0;

    if(!mtk7620_get_gpio_pin(WPS_BTN)) {
        key = 1;
        printf("wps buootn pressed!\n");
    }
    return key;
}
由于小米路由器只有一个按键,所以这边就把WPS和RESET当做同一个按键,经测试得到小米路由器mini的按键角为GPIO24,小米路由器3的按键角为GPIO30,至于三个LED对应的引脚实在不想去测试了,没有原理图就是麻烦,如果有人知道不凡告诉我下。
所以我们将include/gpio.h中引脚的定义进行修改即可。
#define RST_BTN     30
#define WPS_BTN     30
接着上面的分析,counter计数后,如果大于0,则进入如下代码:
if ( counter > 0 ) {
    eth_initialize(gd->bd);
    NetLoopHttpd();
}
先进行网口的初始化eth_initialize(),然后就进入web服务器检查中NetLoopHttpd(),对于里面实现的具体,这边就不进行追踪了,里面内容有点多,我也不能很清楚的理解透。
2.具体操作
上面我们将web的整个过程进行了简单分析,现在我们进行实际操作下。(要对上面所说的引脚改成对于平台的GPIO号,烧录到spi中)
在路由器还没上电之前,先按住RESET键,然后上电,在出现倒计时的时候放开RESET键,可以看到console上出现如下信息:
Press press WPS button for more than 2 seconds to run web failsafe mode

WPS button is pressed for:  3 second(s)

WPS button was pressed for 3 seconds
HTTP server is starting for firmware update...

...

 NetRxPackets[23] = 0x87FEFC40

 KSEG1ADDR(NetTxPacket) = 0xA7FE6C40

 NetLoopHttpd,call eth_halt !
Trying Eth0 (10/100-M)

 Waitting for RX_DMA_BUSY status Start... done


 ETH_STATE_ACTIVE!!
HTTP server is starting at IP: 192.168.128.1
HTTP server is ready!
这时路由器已经处于NetLoopHttpd()函数的for循环中等待了,我们可以打开浏览器,输入IP:192.168.128.1进行访问web更新页面,如下:

web页面
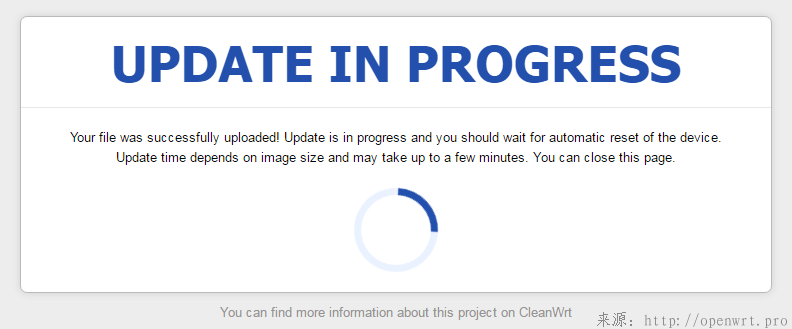
点击选择文件,将编译好的firmware选中,点击Update firmware,则会出现如下页面:

FIRMWARE UPDATE
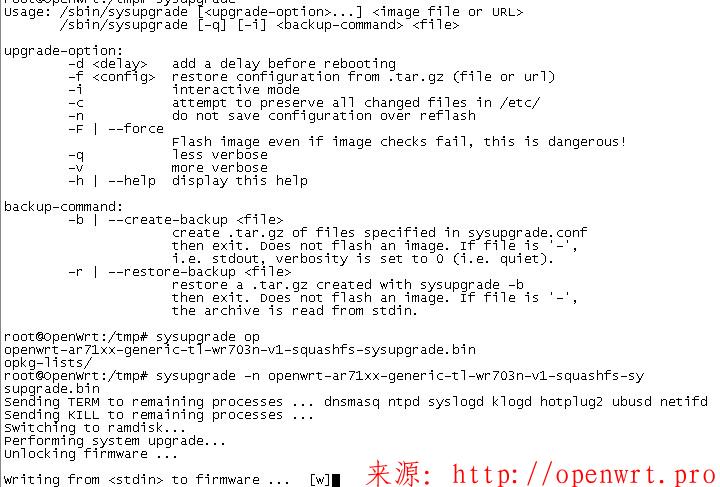
此时也可以观察console,可发现firmware的上传,写入到spi flash,reboot的过程,大概如下:
Data will be downloaded at 0x81000000 in RAM
Upgrade type: firmware
Upload file size: 3407876 bytes
Loading: #######################################
         #######################################
         #######################################
         #######################################
         ###################

HTTP upload is done! Upgrading...

****************************
*    FIRMWARE UPGRADING    *
* DO NOT POWER OFF DEVICE! *
****************************

raspi_erase_write: offs:40000, count:340004
raspi_erase: offs:40000 len:340000
....................................................
raspi_write: 81000000 to:40000 len:340000
....................................................
raspi_read: from:40000 len:10000
raspi_read: from:50000 len:10000
raspi_read: from:360000 len:10000
raspi_read: from:380000 len:10000
raspi_erase: offs:380000 len:10000
.
raspi_write: 87f711f0 to:380000 len:10000
.
raspi_read: from:380000 len:10000
Done!
HTTP ugrade is done! Rebooting...

U-Boot 1.1.3 (Feb 28 2017 - 05:15:56)

Board: Ralink APSoC DRAM:  128 MB
GPIO#1 updated GPIOMODE register: 001a311c -> 001a311d
MT7620 Ai-BR100 gpio init : WPS / RESET pin
GPIO#30 updated GPIOMODE register: 001a311d -> 001a331d
relocate_code Pointer at: 87fb0000

...

Starting kernel ...

[    0.000000] Linux version 3.18.45 (linye@ubuntu) (gcc version 4.8.3 (OpenWrt/Linaro GCC 4.8-2014.04 r49389) ) #1 Tue Feb 21 06:02:12 PST 2017
[    0.000000] Board has DDR2
[    0.000000] Analog PMU set to hw control
[    0.000000] Digital PMU set to hw control
[    0.000000] SoC Type: MediaTek MT7620A ver:2 eco:6
可以看到image被烧录到spi flash中,并正常启动openwrt。
U-boot支持web更新firmware功能的分析就到这边,有感悟时会持续会更新。


